
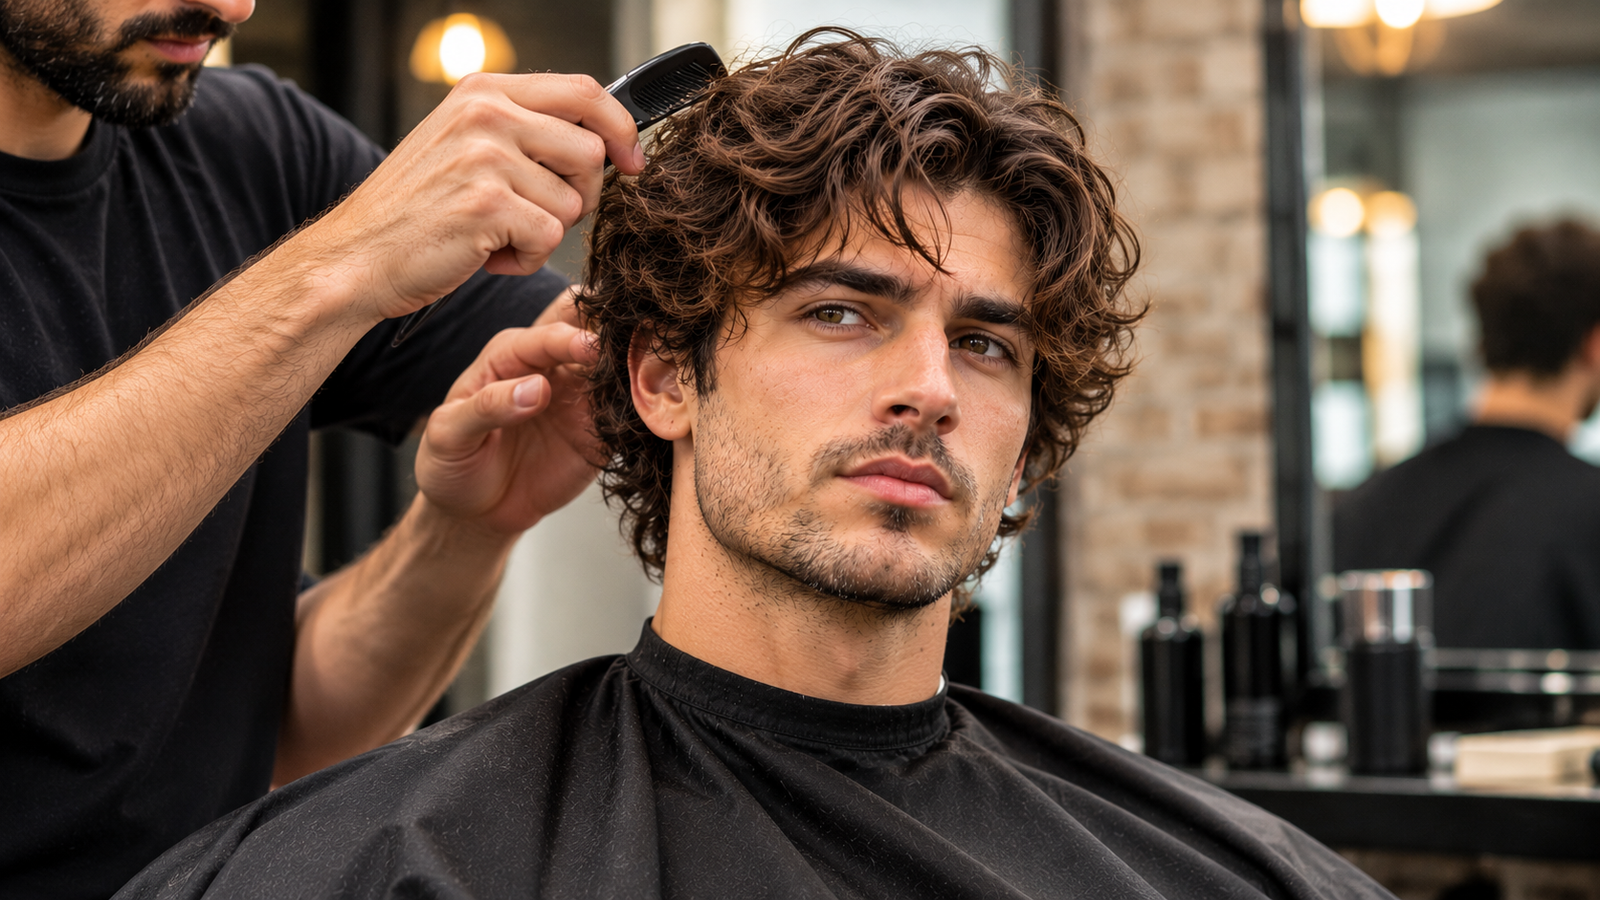
Walking into a barbershop and saying “wolf cut” can go sideways fast. One barber hears a shaggy mullet. Another hears a short crop with a few layers. Photos help, but they don’t explain the length, the layers, or how much texture you want.
This guide shows you how to ask a barber for a wolf cut in plain terms: what to say, what to show, and what to flag before the scissors come out. You’ll also get a simple at-home routine, so the cut still looks good in week five and not only in the chair.
A Wolf Cut Is Short, Choppy Layers on Top With Longer Length Left at the Back
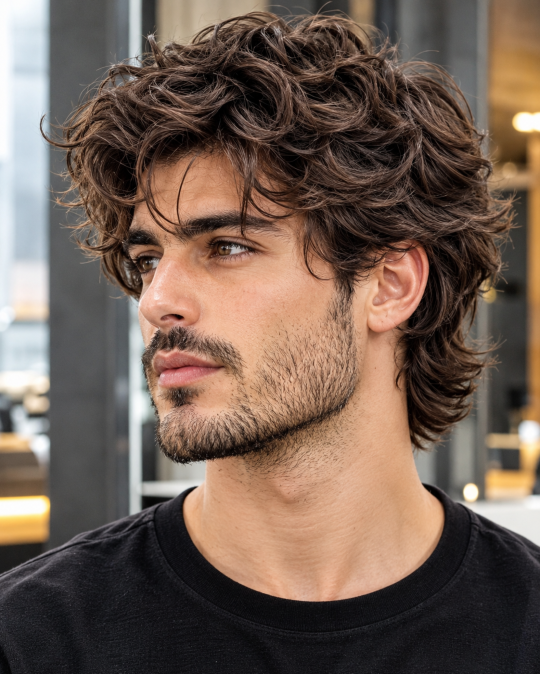
A wolf cut mixes a shag and a mullet, but it blends the two. A classic mullet has a sharp jump between the short top and the long back. A wolf cut softens that jump with layers, so the length flows down in steps.
Think of it in three zones:
- Top and crown: Layers, usually around 3 to 5 inches, cut to stand up and look textured.
- Fringe: Hits somewhere between the eyebrows and cheekbones, broken up so it isn’t a straight line.
- Back and nape: Left longer, often to the collar or past it, with wispy, uneven ends.
The sides are usually left longer and cut around the ears. A high fade works against the look, since the shape depends on the sides blending into the length rather than dropping away.
Say These Five Things in the Chair, and Bring Two Photos
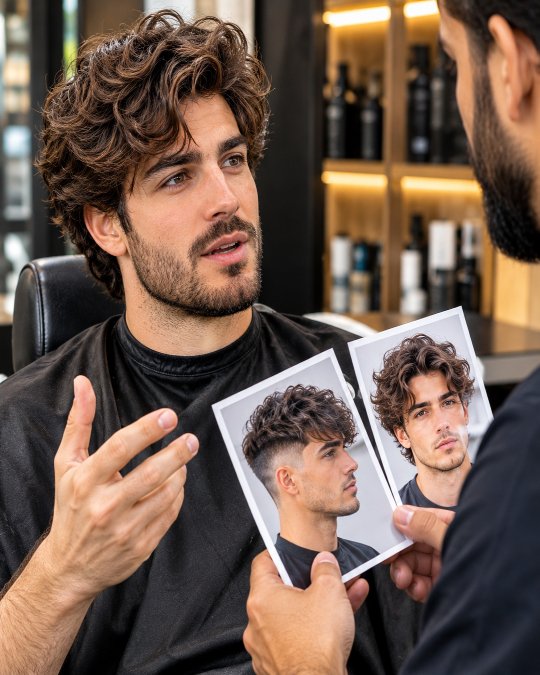
“Wolf cut” alone leaves too much open. Barbers read it differently, so give them numbers and landmarks.
“I’d like a wolf cut. Keep the back to my collar, with the shortest layers around 3 inches at the crown. I want a textured fringe that breaks around my eyebrows. Leave the sides long and cut around my ears, no fade. Please point cut the ends instead of using a lot of thinning shears.”
That script covers the five things your barber needs: back length, layer length, fringe, sides, and texture method.
Photo rules that save you from a surprise:
- Bring one front view and one side or back view. A wolf cut can look very different from behind.
- Pick photos of hair close to your texture. A photo of thick, wavy hair won’t translate to fine, straight hair.
- Remember that photos show styled hair. Ask your barber how much of the look comes from the cut and how much from product.
Barber Note: Use your fingers to show lengths, like a spot on your neck or the line of your eyebrow. It’s clearer than saying “medium.”
Match the Request to Your Hair Type
The same wolf cut sits very differently on fine hair than on thick curls. Adjusting the request is how you get the shape in the photo.
| Hair type | Ask for | Skip |
|---|---|---|
| Fine, straight | Light layers, ends left fuller at the back | Heavy thinning or lots of razor work |
| Thick, coarse, straight | Longer layers with weight removed from inside | Very short crown layers that stick straight out |
| Wavy | Layers around 3 to 5 inches, cut or checked dry | Cutting while stretched wet, which can come out shorter than planned |
| Curly or coily | Dry cutting, longer layers, shaped curl by curl | Razor on dry curls, which can add frizz |
| Lower density or thinner areas | Layers throughout for body, a soft fringe | Thinning shears that remove more volume |
The “why” is simple. Fine hair needs to keep its ends so the back doesn’t look see-through. Thick hair needs weight taken out so it doesn’t form a triangle. Wavy and curly hair shortens as it dries, so a dry cut shows you the real length.
Face Shape and Fringe Length Change How the Cut Reads
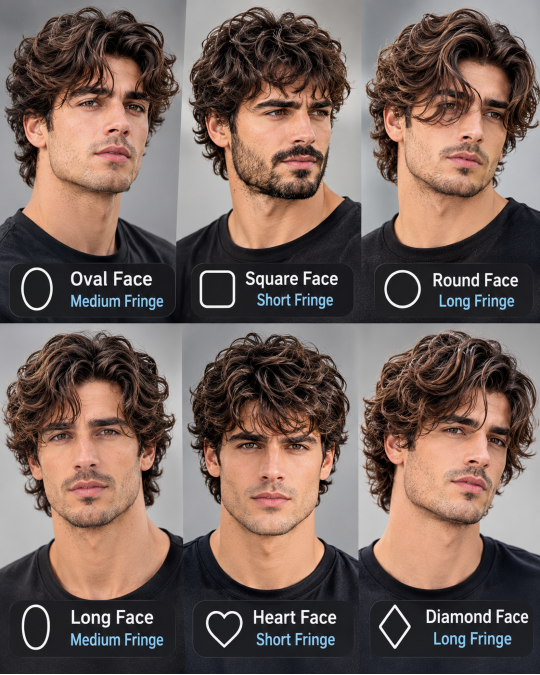
You don’t need to correct your face shape. These are options for adjusting how soft or sharp the cut looks.
- Rounder or fuller face: Keep height and volume at the crown, and try a side-swept fringe. Slightly longer layers around the sides add a vertical line.
- Strong, square jaw: Wispy, softer layers and a longer back balance the angles. A choppy fringe works well.
- Longer or oval face: A fringe that reaches the eyebrows adds width across the forehead. Keep the sides fuller.
- Narrower chin: Ask for a lighter fringe and keep some weight in the layers around the cheek and jaw.
Try This: If you have a cowlick at the front hairline, tell your barber before they cut the fringe. A slightly longer fringe in that spot lets the hair lie down instead of popping up.
Watch the Technique: Point Cutting Beats a Blunt Chop
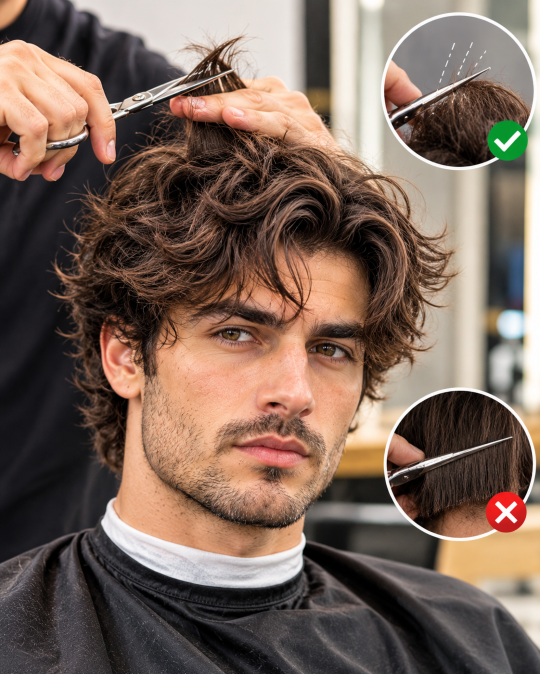
You can’t always control what happens behind you, but a few signs tell you the cut is on track.
Good signs:
- The barber cuts into the ends vertically (point cutting) or slides the scissors along the hair for a softer finish.
- They check the layers dry, or dry the hair partway to see how it falls.
- They blend the crown layers into the back, so there’s no visible “step.”
Warning signs:
- The top stays heavy and flat, which means too few layers.
- The back looks like a separate section, with a hard line where it starts.
- The ends are cut straight across with scissors. A wolf cut needs broken ends.
Budget Swap: If your barber mostly does clipper work, a stylist at a salon may handle shaggy, scissor-heavy cuts more often. Ask to see recent shag or layered cuts they’ve done.
What the Cut Looks Like From Week One to Week Eight
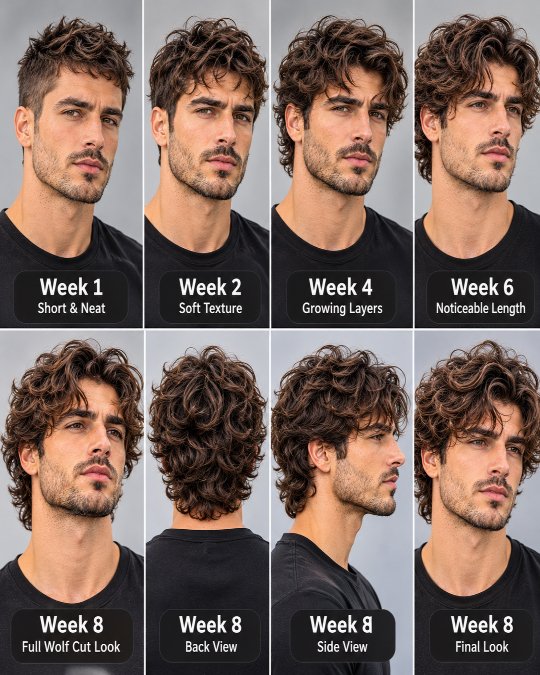
Hair grows about half an inch a month on average, so a wolf cut changes shape slowly. That’s one reason it’s popular with people who don’t want a trim every few weeks.
| Timing | What you’ll see | What to do |
|---|---|---|
| Week 1 | Layers sit as cut, fringe at the intended length | Learn what your hair needs for styling |
| Weeks 2 to 3 | Layers settle and look more natural | Style as normal |
| Weeks 4 to 5 | Fringe starts reaching the eyes, nape feels heavier | Book a fringe trim or tuck it behind the ears |
| Weeks 6 to 8 | Layers lose definition, back looks fuller | Book a reshape to restore the layers |
| Past 10 weeks | The cut grows into a longer, rougher shag | Ask for shaping, not shortening, to keep growing |
Style It in Five Minutes
Formula: damp hair + sea salt spray + air dry or diffuse + a pinch of texture cream or paste on the ends
- Towel-dry your hair gently until it’s damp, not dripping.
- Spray sea salt spray through the length and scrunch.
- Air dry, or use a blow dryer on low with a diffuser, pointing the airflow upward at the roots.
- Rub a small amount of texture cream or matte paste between your palms. Work it through the ends only.
This works because salt spray adds grip and bend, and the product on the ends separates the layers so they don’t clump. A heavy gel or wax can weigh the hair down and flatten the layers.
Seasonal Swap: In humid weather, use less product and more airflow. In cold, dry weather, add a drop of leave-in conditioner before styling.
Budget Swap: No salt spray? Use a light leave-in conditioner on damp hair and scrunch. You’ll get less grip, but the layers still separate.
Frequently Asked Questions
How long does my hair need to be before a wolf cut?
As a rough guide, about 4 to 5 inches on top gives a barber room to layer. Shorter hair can still work as a short, textured shag, but the layers will be less visible.
Can I get a wolf cut with a receding hairline or thinning hair?
Yes. Layers add body, and the fringe can be styled forward or to the side. Ask for texture added with scissors rather than thinning shears, which remove volume.
Will a wolf cut look too messy for work?
It can be as tidy as you want. Ask for a cleaner nape and a fringe that stays off the eyes, and use a small amount of cream. You can also tuck it behind your ears or tie it back.
What if my barber has never done a wolf cut?
Show your photos and ask how they’d approach the layers. If they seem unsure, look for a barber or stylist who posts shaggy or layered cuts on their portfolio page.
Conclusion
The best wolf cut starts with a clear request. Give your barber numbers, a front and back photo, and your hair type, and you take most of the guesswork out of the chair.
Before your next appointment, write down your back length, layer length, and fringe line. Then check the cut dry before you leave. A few minutes of detail saves weeks of regret.